Cisco ISDN Configuration and Troubleshooting
 Let us face it: ISDN is out of date. Indeed, this telephone technology dates all the way back to 1986. Nonetheless, several providers continue to utilize it more than three decades later. While some still use it for low-bandwidth network connections, the vast majority utilize it for telephony. As a network engineer, you may be required to configure an ISDN connection on a voice gateway in order to link your VoIP system to the public telephone network. If that is the case, you have arrived to the correct location. We will cover the fundamentals of Cisco ISDN Configuration and Troubleshooting setting in this post, as well as some frequent troubleshooting techniques.
Read More: The best VoIP service in 2021, Recreate a conventional office phone at home: Best VoIP Providers in the United States in 2022
What is ISDN?
The word ISDN stands for Integrated Services Digital Network. Today, we're going right to the setup, but in case you're curious, here's a link to Wikipedia. Simply said, this technique divides a logical connection into multiple smaller links, referred to as channels. Each packet represents a phone call and is 64Kbps in size. There are two primary ISDN standards: T1 (North America) and E1 (Europe) (World Wide). T1 has 24 channels, whereas E1 has 31. In all circumstances, however, one channel is dedicated to signaling and does not transport any payload.
Cisco ISDN Configuration
#1 – Setting up the router
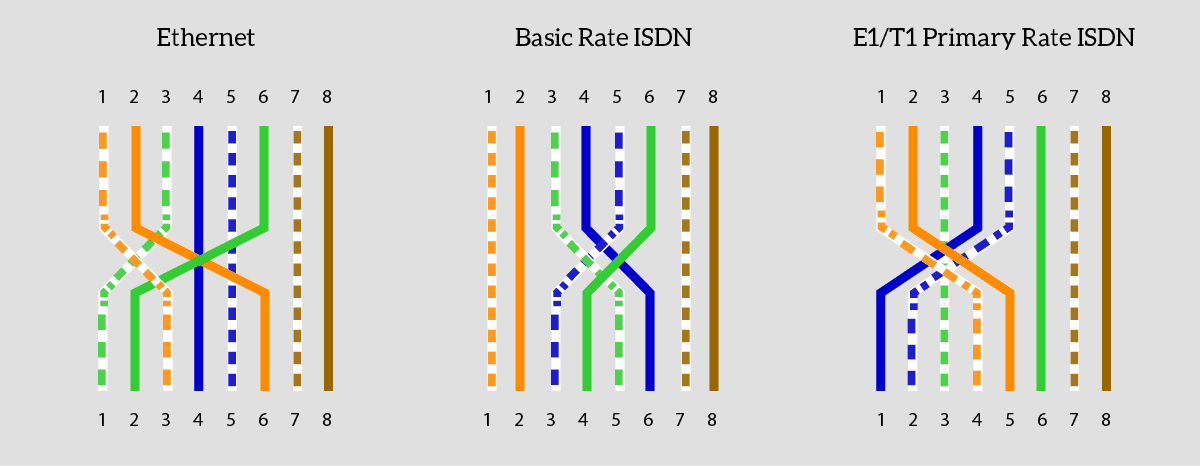
When setting Cisco ISDN, you need to setup the router first. While ISDN communicates via RJ45 wires, much like Ethernet, you cannot insert it in any port you wish. In reality, ISDN is a totally other protocol and has to function differently. The first thing you want to do is install a card that is capable of ISDN framing for your router. Always install the card when the router is powered off. If you don’t have the card, you may want to purchase it. There are several options out there, depending on the version of your router. For example, thevwic2-2mft-t1/e1 will fit in the 28xx and 38xx routers. Instead, any vwic3 will fit in the 39xx series.
#2 – Configure the card
E1, T1, Data over ISDN? You have several options when configuring Cisco ISDN. Therefore, you must tell the router what is the purpose of the card. Enter the configuration and issue the following command.card type e1
0 0. Check the routers to see the position. If you have trouble identifying the cards, don’t worry. Cisco won’t accept the command unless the card is actually there, thus you just have to try several combinations of numbers. In this example, we are configuring E1, but T1 will work as well. If you want to configure a T1 link, just change it in the command.
Now, you should configure the ISDN switch type as told by the provider. For example, in Europe the primary-net5 is common.
isdn switch-type
? instead of network-clock-participate wic
network-clock-select 1 e1
#3 – Configure the controller
The controller represents the actual ISDN connection. The card, instead, is the module that hosts one to four ISDN ports. All the ports on the card have a number, starting from 0. Configure the controller as below.controller e1 //
pri-group timeslots 1-31 voice-dsp
clock source line
e1 in t1 if you want to configure a T1 link. While doing so, remember to change the number of channels from 1-31 to 1-23. You should also know that some providers offers you fractional ISDN links. Thus, they don’t make all channels available to you. For example, for a small site you might end up configuring 1-5.
The keyword voice-dsp is important, it tells the router that this ISDN link will carry voice traffic.
In the last line, we configure the clock's router. ISDN, like serial, operates on a clock, and the router must determine whether to transmit or receive the clock. The router will get the clock from the other side if the source is set to line. This is the only circumstance in which you should connect to a provider, however you may choose to set the source to Internal to do some testing (for example looping the same cable in two ISDN ports).
#4 – Configure the control interface
Remember when we presented the E1 and T1 options? We talked about signaling channels, that the two ISDN devices use to establish the link. You will need to configure this channel as well, and with some tuning, if required by the provider! This special channel is rendered as a subinterface in Cisco ISDN configuration, the subinterface 15 of the corresponding ISDN port.interface Serial //:15
no shutdown
isdn incoming-voice voice
framing command.
#5 – Tune the voice service
Although not necessarily needed, you may want to add some basic tuning to your Cisco ISDN configuration. This includes configuring H.323 settings. We won’t go deeper on that, in fact, your link is likely to work even without these commands.voice service voip
h323
h225 display-ie ccm-compatible
call preserve
voice class h323 1
h225 timeout tcp establish
voice-port 0/0/0:15
bearer-cap speech

Cisco ISDN Troubleshooting
Cisco ISDN troubleshooting is difficult. It is a protocol that you will rarely use and are unlikely to be very familiar with. If you do not employ some method, you can easily become lost in all of its settings. Not to worry; many ISDN issues are simple to resolve. All you need to do is know where to look. Here, your best ally is displaying the isdn status. The output of a functional ISDN link is shown below.VG01#show isdn status
Global ISDN Switchtype = primary-net5
ISDN Serial1/0:15 interface
dsl 0, interface ISDN Switchtype = primary-net5
Layer 1 Status:
ACTIVE
Layer 2 Status:
TEI = 0, Ces = 1, SAPI = 0, State = MULTIPLE_FRAME_ESTABLISHED
Layer 3 Status:
0 Active Layer 3 Call(s)
Active dsl 0 CCBs = 0
The Free Channel Mask: 0xFFFF7FFF
Number of L2 Discards = 18, L2 Session ID = 173
Serial 1/0:15.
Layer 1 Status
Layer 1 Status:
ACTIVE
ACTIVE there, and you likely will. In case something is wrong, you will see DEACTIVATED.
How to troubleshoot Cisco Devices with deactivated ISDN Layer 1? To begin, ensure that all electronics are turned off. You'll want to power on not only your voice card, but also your controller and serial link. If, after confirming this, you continue to see Layer 1 Deactivated, you have a cabling issue. This does not necessarily indicate that the cable is faulty. Typically, this is due to an incorrect cable.
Layer 2 Status
Layer 2 Status:
TEI = 0, Ces = 1, SAPI = 0, State = MULTIPLE_FRAME_ESTABLISHED
MULTIPLE_FRAME_ESTABLISHED. In case something is working, instead, you will see TEI_ASSIGNED. To fix this, try reviewing your ISDN settings. Don’t be afraid to ask the provider what do they want exactly. In this status, you can also use debug isdn q921 to see the ISDN messages. You will see what messages you are exchanging with the provider, and why the link is not going up.
Layer 3 status
Allow ISDN to deceive you here. In ISDN, Layer 3 is not the network layer; it does not include addressing or remote delivery. In ISDN, layer 3 is used to represent active calls. Thus, the number of active calls (channels opened) will be displayed on the link. As you can see, our perfectly good link now has a value of 0. There is nothing to troubleshoot here.Layer 3 Status:
0 Active Layer 3 Call(s)

Read More: The best VoIP service in 2021, Recreate a conventional office phone at home: Best VoIP Providers in the United States in 2022
Wrapping up Cisco ISDN
What a difficult subject, Cisco ISDN configuration and troubleshooting! If you're like many network engineers, you're eager to move on. Hopefully, you did with this article. If you're looking for quick references throughout this article, here's a checklist.- Activate the card
- Configuration of the card
- Set up the controller
- Create the user interface
- Customize the voice service if desired.


Comments
Post a Comment